Interview Preparation Screen
Once you complete the setup, you land on the Interview Preparation page. The header displays your job context (for example, “Nubra - Frontend Developer”) so you always know which role you are practicing for.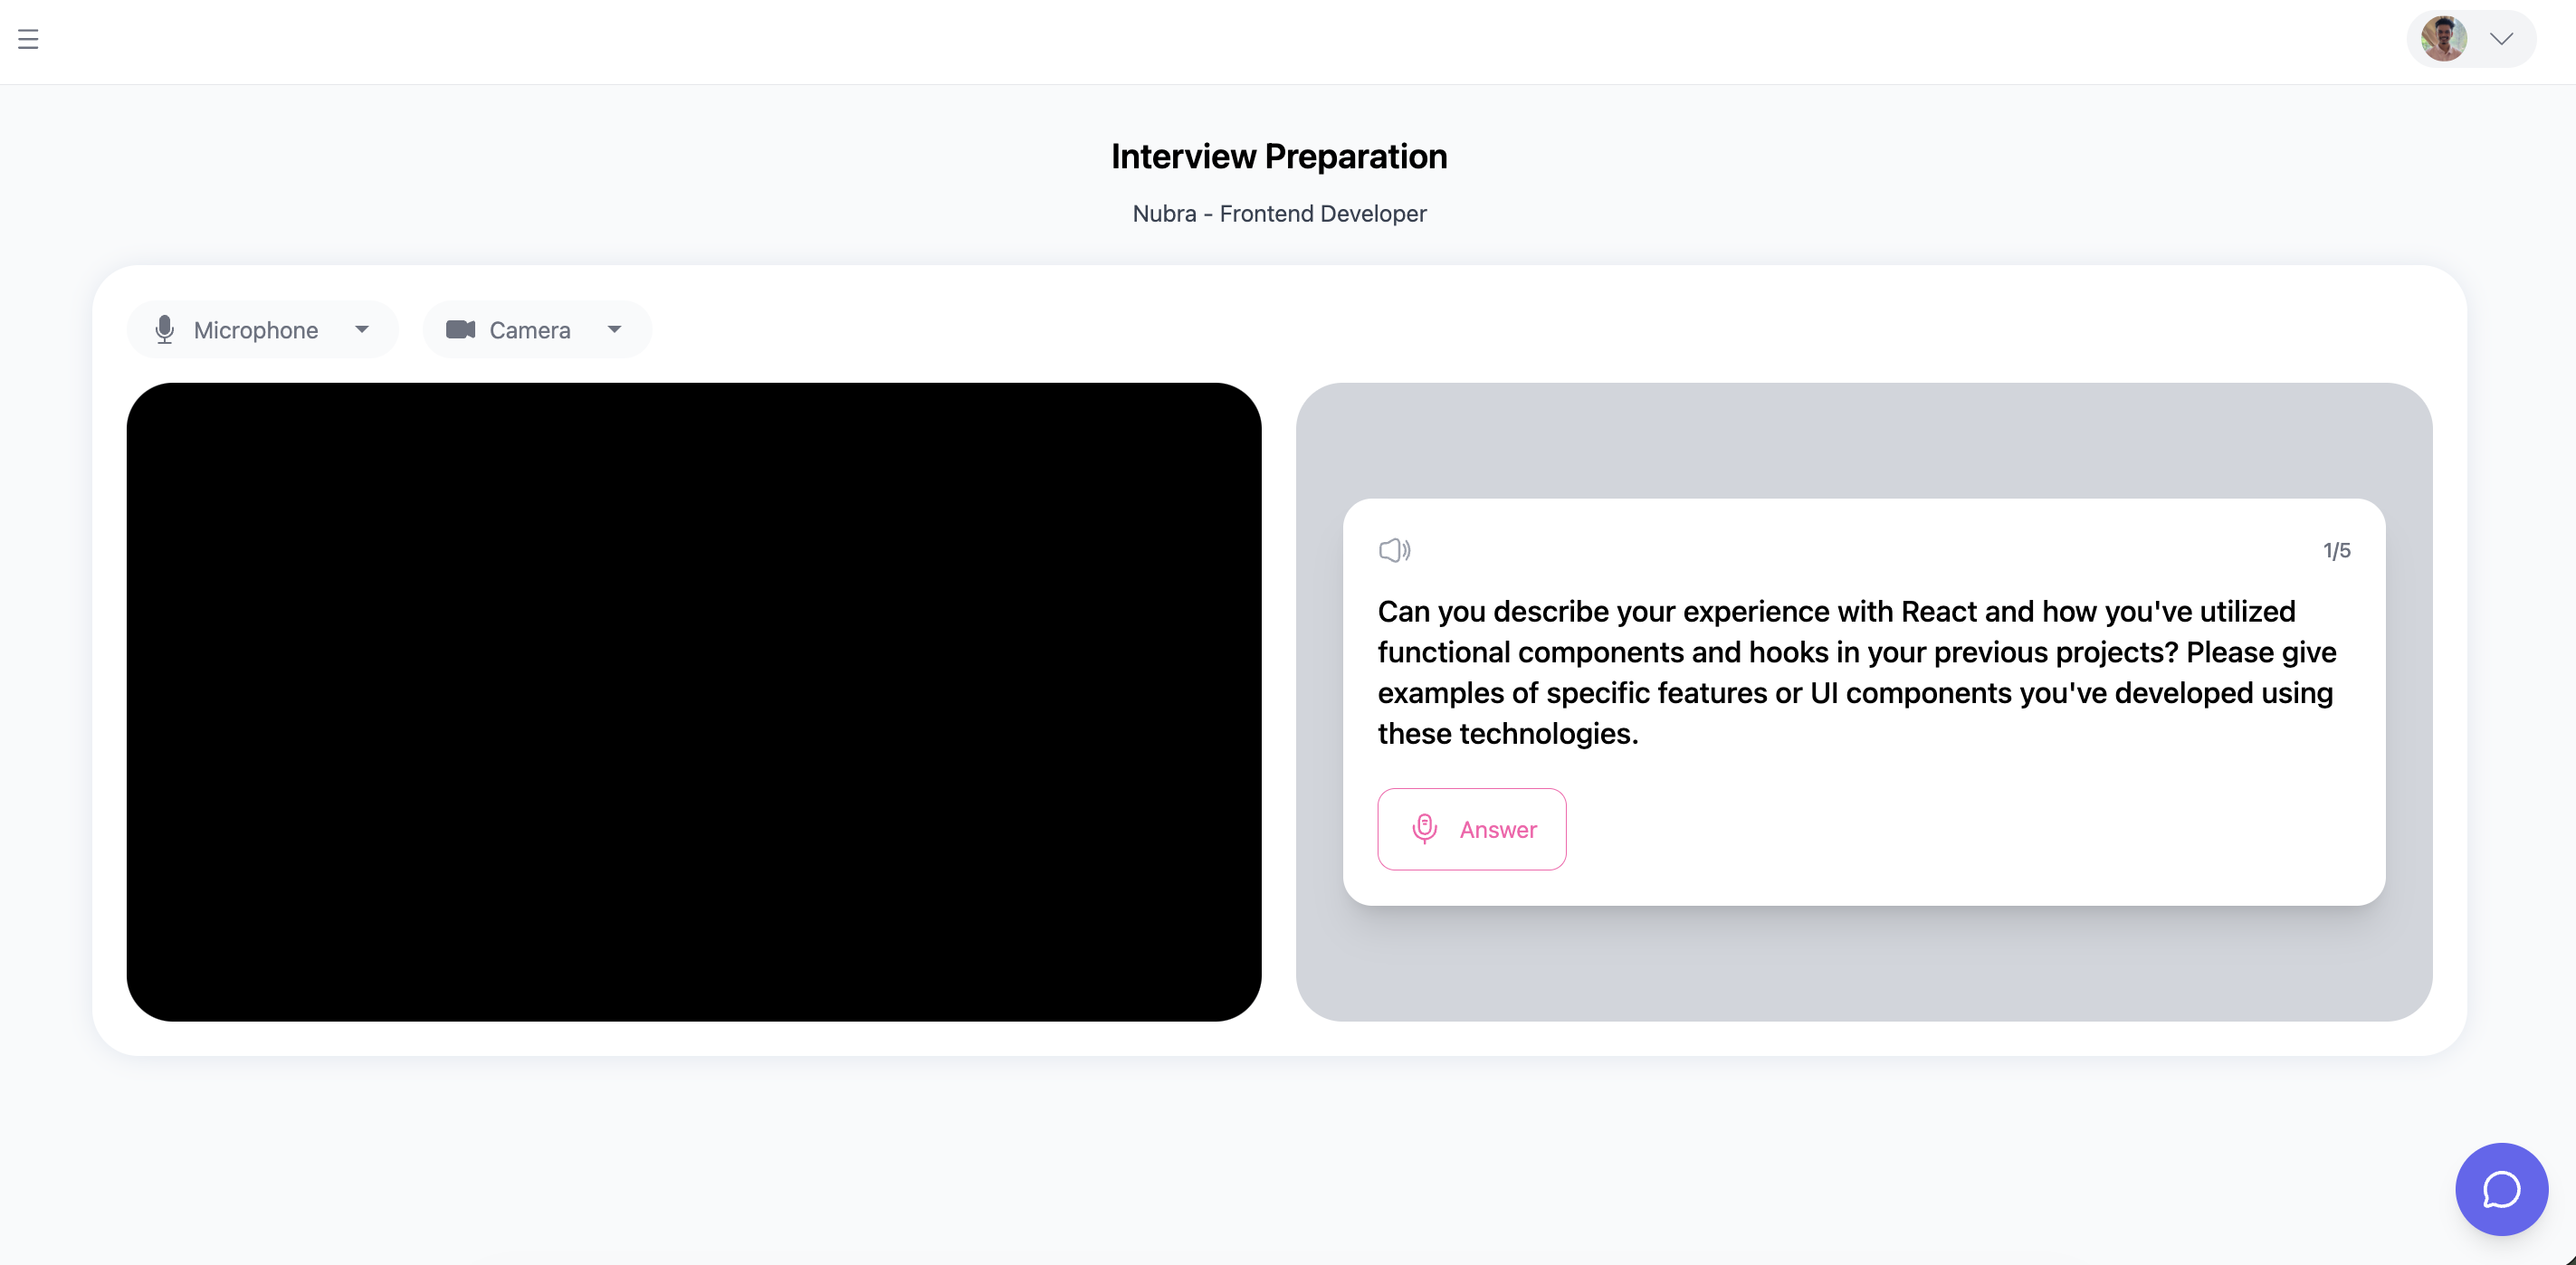
Layout
The session screen is split into two equal halves:- Left panel — Your live camera feed. This is exactly what the AI will analyze, so position yourself as you would in a real video interview.
- Right panel — The question card displaying the current question and action buttons.
Device Controls
At the top of the camera area you will find two dropdown menus:- Microphone — Select the audio input device you want to use.
- Camera — Select the video input device you want to use.
Question Card
The question card on the right side of the screen contains everything you need to navigate and answer questions:| Element | Description |
|---|---|
| Speaker icon | Click to have the question read aloud using text-to-speech. Useful if you prefer to listen rather than read. |
| Question type label | Indicates the category of the question (for example, Background or Situational). |
| Question counter | Shows your position in the interview — “1/5”, “2/5”, and so on. |
| Question text | The full interview question. |
| Answer button | Click to begin recording your response. |
Recording Flow
Read the question
Take a moment to think through your answer before recording. There is no time limit on how long you can prepare — only on how long you can record.
Click Answer
A short countdown (3, 2, 1) appears on the camera feed, then camera and microphone recording begins. A red “Recording…” indicator and a timer appear at the top of the screen.
Deliver your response
Speak naturally as you would in a real interview. You have a maximum of 3 minutes (180 seconds) per question. The timer counts up from 00:00 to 03:00. When 30 seconds remain, a red banner warns you of the time left. If you reach the limit, the recording is submitted automatically.You must record at least 10 seconds before the Submit Answer button becomes active.